
Projects / Air quality
Indoor Air Quality Monitor
True CO₂, VOC and NOx readings for your office, bedroom or classroom.
Overview
Stuffy rooms are high-CO₂ rooms. This monitor measures real CO₂ with a photoacoustic NDIR sensor, adds Sensirion's VOC and NOx indices for smells, cooking fumes and outdoor pollution, and uses a precision humidity sensor to compensate the gas readings.
All three boards sit on one I²C chain, so the build is four wires to the ESP32 and two Qwiic cables. Readings print every 5 seconds and are easy to send to Home Assistant later.
- CO₂ in ppm (400–5,000 ppm)
- VOC index and NOx index (1–500)
- Temperature and humidity at ±0.2 °C / ±1.8 %RH
- Air status: good, ventilate, poor
What you need
ElectroTrical boards
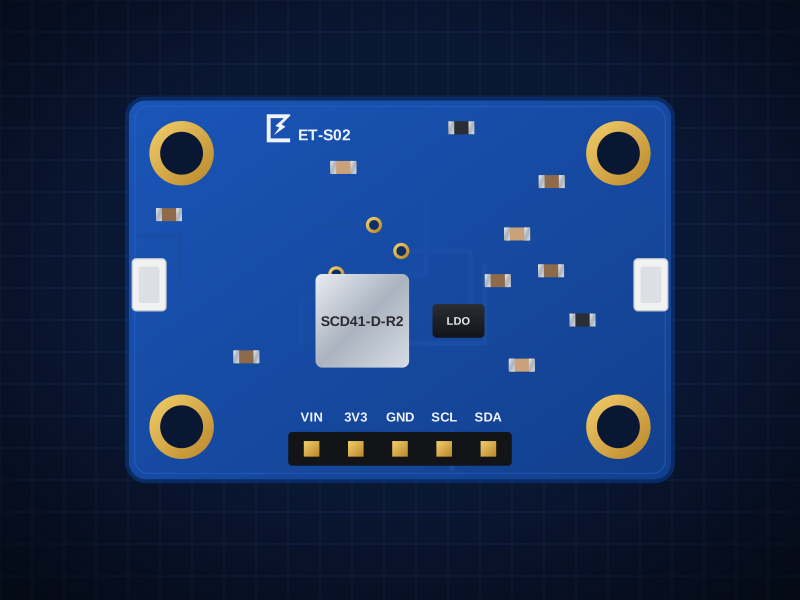
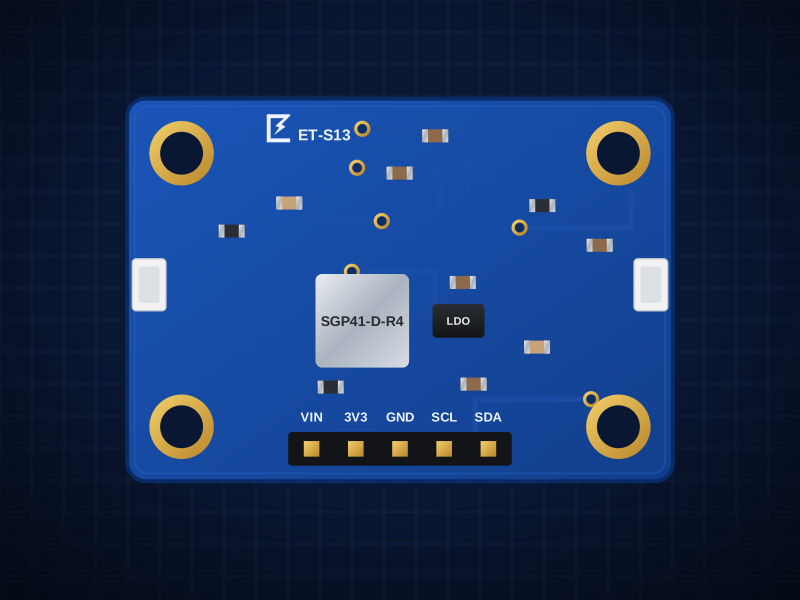
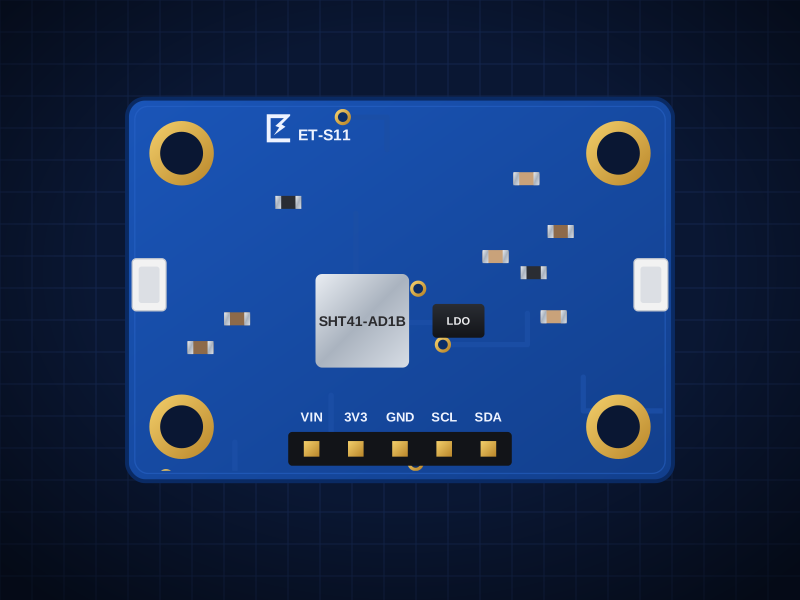
Boards total: AED 227.00
These boards are being manufactured. Open a board's page to see when it's back, or ask us about a kit.
You'll also need
- ESP32-S3 DevKitC-1 (or any ESP32-S3 board) with a USB-C data cable. Not sold by ElectroTrical.
- Qwiic / STEMMA QT cables (JST SH 4-pin) to chain the boards, or jumper wires
- Optional: a vented enclosure. Keep the sensors away from the ESP32's warm side.
Wiring
Wire the first board's header to the ESP32 as shown, then link the other I²C boards with Qwiic cables. Every board carries VIN, GND, SDA and SCL through both Qwiic sockets, so the chain needs no extra wires. Addresses: SCD41 0x62, SGP41 0x59, SHT41 0x44 — no conflicts.
ESP32 → ET-S02 header
| From | To | Note |
|---|---|---|
| ESP32 3V3 | VIN | VIN sets the I²C logic level. Keep it at 3.3 V for the ESP32. |
| ESP32 GND | GND | |
| ESP32 GPIO8 | SDA | |
| ESP32 GPIO9 | SCL |
Qwiic chain
| From | To | Note |
|---|---|---|
| ET-S02 Qwiic | ET-S13 Qwiic | |
| ET-S13 Qwiic | ET-S11 Qwiic |
Build it
- 01
Solder the headers
Solder the supplied 2.54 mm header to the ET-S02 only. The other two boards connect by Qwiic cable.
- 02
Wire the chain
Wire the ESP32 to the ET-S02 header as in the table, then link ET-S02 → ET-S13 → ET-S11 with Qwiic cables.
- 03
Set up the Arduino IDE
Install Arduino IDE 2, add the Espressif ESP32 board package (Boards Manager → “esp32” by Espressif), select “ESP32S3 Dev Module” and turn on USB CDC On Boot so Serial prints over USB. Install the libraries listed above the sketch from Library Manager.
- 04
Upload and open Serial Monitor
Upload the sketch and open Serial Monitor at 115200 baud. The CO₂ value appears after about 5 seconds; the VOC index starts at 100 and needs a few minutes to settle.
- 05
Let it learn
The NOx index needs about 5 minutes of conditioning after every power-up, and the gas-index algorithm adapts to your room over 12–24 hours. Leave it running.
- 06
Calibrate CO₂ outdoors (optional)
The SCD41 self-calibrates if it sees fresh air (≈420 ppm) at least once a week. In a room that is never aired, take it outside for 5 minutes once a week, or turn off auto-calibration in code.
Arduino code
Written for the ESP32-S3 DevKitC-1 with the Espressif Arduino core. Install these libraries from the Arduino Library Manager:
- SparkFun SCD4x Arduino Library
- Sensirion I2C SGP41
- Sensirion Gas Index Algorithm
- Adafruit SHT4x Library
#include <Wire.h>
#include <SparkFun_SCD4x_Arduino_Library.h>
#include <SensirionI2CSgp41.h>
#include <VOCGasIndexAlgorithm.h>
#include <NOxGasIndexAlgorithm.h>
#include <Adafruit_SHT4x.h>

SCD4x scd41;
SensirionI2CSgp41 sgp41;
Adafruit_SHT4x sht41;
VOCGasIndexAlgorithm vocAlgo;
NOxGasIndexAlgorithm noxAlgo;

uint16_t conditioningLeft = 10;   // SGP41 needs ~10 s of conditioning
uint16_t co2 = 0;

void setup() {
  Serial.begin(115200);
  Wire.begin(8, 9);               // SDA, SCL

  if (!scd41.begin()) Serial.println("SCD41 not found (0x62)");
  sgp41.begin(Wire);
  if (!sht41.begin()) Serial.println("SHT41 not found (0x44)");
  sht41.setPrecision(SHT4X_HIGH_PRECISION);
}

void loop() {
  // 1. Temperature and humidity from the SHT41
  sensors_event_t hum, temp;
  sht41.getEvent(&hum, &temp);

  // 2. SGP41 needs RH and T as "ticks" for compensation
  uint16_t rhTicks = (uint16_t)(hum.relative_humidity * 65535 / 100);
  uint16_t tTicks  = (uint16_t)((temp.temperature + 45) * 65535 / 175);
  uint16_t srawVoc = 0, srawNox = 0;

  if (conditioningLeft > 0) {
    sgp41.executeConditioning(rhTicks, tTicks, srawVoc);
    conditioningLeft--;
  } else {
    sgp41.measureRawSignals(rhTicks, tTicks, srawVoc, srawNox);
  }
  int32_t voc = vocAlgo.process(srawVoc);
  int32_t nox = noxAlgo.process(srawNox);

  // 3. CO2 from the SCD41 (new value every 5 s)
  if (scd41.readMeasurement()) co2 = scd41.getCO2();

  static uint8_t n = 0;
  if (++n >= 5) {                  // print every 5 s
    n = 0;
    const char* status = co2 < 800 ? "GOOD" : co2 < 1400 ? "VENTILATE" : "POOR";
    Serial.printf("CO2 %u ppm | VOC %ld | NOx %ld | %.1f C | %.0f %%RH | %s\n",
                  co2, (long)voc, (long)nox, temp.temperature, hum.relative_humidity, status);
  }
  delay(1000);                     // the gas-index algorithm expects 1 s steps
}
Troubleshooting
CO₂ stays at 0
The SCD41 gives its first reading after 5 seconds. If it never appears, run an I²C scanner and check that 0x62 is found.
VOC index stuck at 0
Normal for the first ~45 seconds while the algorithm starts. NOx stays at 1 until conditioning finishes.
Temperature reads high
The ESP32 and its regulator warm the air around them. Put the sensors on a short Qwiic cable away from the ESP32.
Take it further
- Add a small OLED or e-paper screen for a desk display
- Send readings to Home Assistant over Wi-Fi with ESPHome (scd4x, sgp4x and sht4x components)
- Add the ET-S14 particulate carrier for PM2.5
Turning this into a product?
We design custom boards that combine these sensors on one PCB, with firmware and production.