
Overview
The ET-S35 carries the Melexis MLX90640, a 768-pixel thermal camera with a wide 110° view. Point it at a fuse box, a leaking window, a hot motor or your AC vents to see temperature as colour.
The ESP32 creates its own Wi-Fi hotspot and serves a live heat map to any phone browser — no app needed. The ET-P09 power bank module makes it portable and USB-C rechargeable.
- 32×24 thermal image, −40 to 300 °C
- Live heat map on your phone, no app
- Shows min, max and centre temperature
- Battery powered, USB-C charging
What you need
ElectroTrical boards
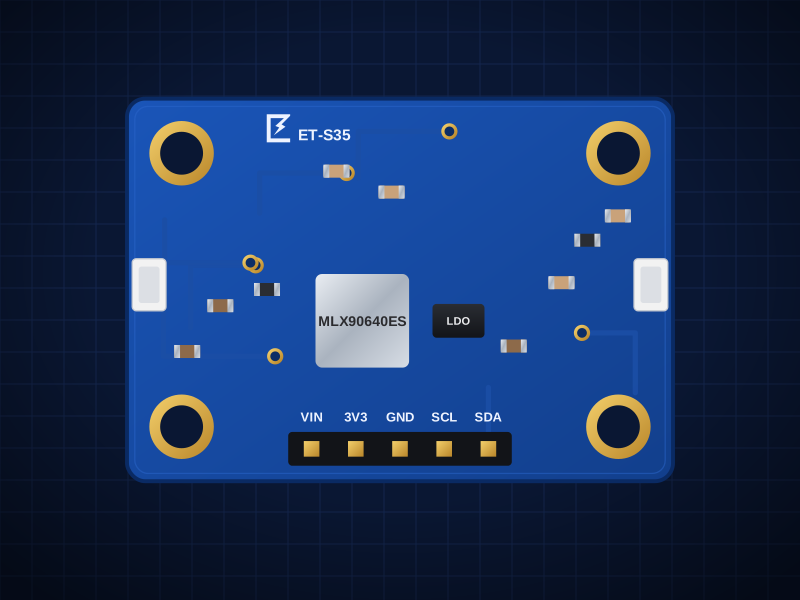
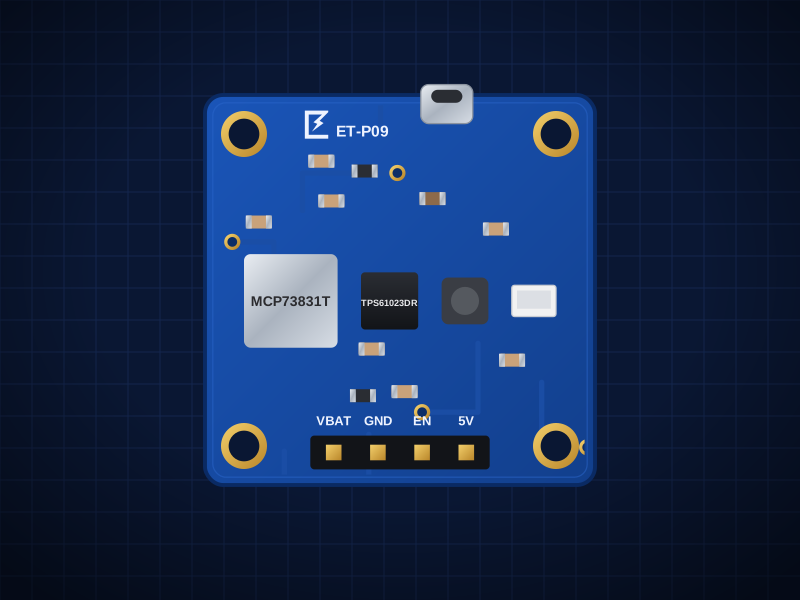
Boards total: AED 278.00
These boards are being manufactured. Open a board's page to see when it's back, or ask us about a kit.
You'll also need
- ESP32-S3 DevKitC-1 (or any ESP32-S3 board) with a USB-C data cable. Not sold by ElectroTrical.
- 1S LiPo, 1,000–2,000 mAh
- Handheld enclosure with an opening for the sensor
Wiring
Power
| From | To | Note |
|---|---|---|
| LiPo | ET-P09 battery socket | |
| ET-P09 5V | ESP32 5V | |
| ET-P09 GND | ESP32 GND |
ESP32 → ET-S35 header
| From | To | Note |
|---|---|---|
| ESP32 3V3 | VIN | VIN sets the I²C logic level. Keep it at 3.3 V for the ESP32. |
| ESP32 GND | GND | |
| ESP32 GPIO8 | SDA | |
| ESP32 GPIO9 | SCL |
Build it
- 01
Set up the Arduino IDE
Install Arduino IDE 2, add the Espressif ESP32 board package (Boards Manager → “esp32” by Espressif), select “ESP32S3 Dev Module” and turn on USB CDC On Boot so Serial prints over USB. Install the libraries listed above the sketch from Library Manager.
- 02
Upload and connect
Upload the sketch. On your phone, join the Wi-Fi network “ElectroTrical-Thermal” (password electrotrical) and open http://192.168.4.1.
- 03
Let it settle
The MLX90640 needs about a minute after power-up for stable readings.
- 04
Go portable
Unplug USB and power from the ET-P09. Charge the LiPo through the ET-P09's USB-C socket.
- 05
Read the image
Each pixel covers a large area at a distance, so small hot spots (a single screw) read lower than they are. Get close to small objects.
Arduino code
Written for the ESP32-S3 DevKitC-1 with the Espressif Arduino core. Install these libraries from the Arduino Library Manager:
- Adafruit MLX90640
#include <Wire.h>
#include <WiFi.h>
#include <WebServer.h>
#include <Adafruit_MLX90640.h>

Adafruit_MLX90640 mlx;
WebServer server(80);
float frame[32 * 24];

const char PAGE[] PROGMEM = R"HTML(
<!doctype html><meta name=viewport content="width=device-width">
<body style="margin:0;background:#111;color:#eee;font:16px sans-serif;text-align:center">
<canvas id=c width=32 height=24 style="width:100%;image-rendering:pixelated"></canvas>
<p id=t></p>
<script>
const c=document.getElementById('c').getContext('2d'),img=c.createImageData(32,24);
function col(x){x=Math.max(0,Math.min(1,x));return[255*Math.min(1,x*2),255*Math.max(0,x*2-1),255*Math.max(0,1-x*3)];}
async function tick(){
  const f=await (await fetch('/frame')).json();
  const lo=Math.min(...f),hi=Math.max(...f);
  f.forEach((v,i)=>{const [r,g,b]=col((v-lo)/(hi-lo||1));img.data.set([r,g,b,255],i*4);});
  c.putImageData(img,0,0);
  document.getElementById('t').textContent='min '+lo.toFixed(1)+'  centre '+f[12*32+16].toFixed(1)+'  max '+hi.toFixed(1)+' \u00b0C';
  setTimeout(tick,250);
}
tick();
</script>
)HTML";

void sendFrame() {
  String s = "[";
  for (int i = 0; i < 32 * 24; i++) {
    if (i) s += ',';
    s += String(frame[i], 1);
  }
  s += "]";
  server.send(200, "application/json", s);
}

void setup() {
  Serial.begin(115200);
  Wire.begin(8, 9);
  Wire.setClock(400000);                  // enough for 4 Hz through the level shifter

  if (!mlx.begin(MLX90640_I2CADDR_DEFAULT, &Wire)) {
    Serial.println("MLX90640 not found (0x33)");
    while (1) delay(100);
  }
  mlx.setMode(MLX90640_CHESS);
  mlx.setResolution(MLX90640_ADC_18BIT);
  mlx.setRefreshRate(MLX90640_4_HZ);

  WiFi.softAP("ElectroTrical-Thermal", "electrotrical");
  server.on("/", [] { server.send_P(200, "text/html", PAGE); });
  server.on("/frame", sendFrame);
  server.begin();
  Serial.println("Open http://192.168.4.1");
}

void loop() {
  mlx.getFrame(frame);
  server.handleClient();
}
Troubleshooting
Image is very noisy or stripes appear
Wait a minute after power-up and keep the refresh rate at 4 Hz. Higher rates add noise.
Shiny metal reads cold
Polished metal reflects infrared. Put a strip of matt electrical tape on it and measure the tape.
Page loads but stays black
Open Serial Monitor: if the sensor isn't found, check the I²C wiring and that VIN is on 3.3 V.
Take it further
- Add an ET-S40 fuel gauge and show battery % on the page
- Save snapshots to the ESP32's flash
- Use the cheaper ET-S36 (8×8) for people counting instead of imaging
Turning this into a product?
We design custom boards that combine these sensors on one PCB, with firmware and production.