
Projects / Weather
Solar Weather Station with Lightning Alerts
Temperature, humidity, pressure, UV index and storm distance — powered by the sun.
Overview
A self-powered roof or balcony station. A small 6 V solar panel charges a LiPo through the ET-P02 power-path charger, and the ET-P03 buck-boost holds a clean 3.3 V across the whole battery range, so the ESP32 runs straight from it.
The station measures temperature, humidity and pressure, the UV index, and detects lightning up to 40 km away with an estimate of the storm's distance. Between readings the ESP32 sleeps to save power; lightning wakes it instantly.
- Temperature, humidity and barometric pressure
- UV index and ambient light
- Lightning detection with storm distance (1–40 km)
- Runs from a 6 V solar panel and a 1S LiPo
What you need
ElectroTrical boards
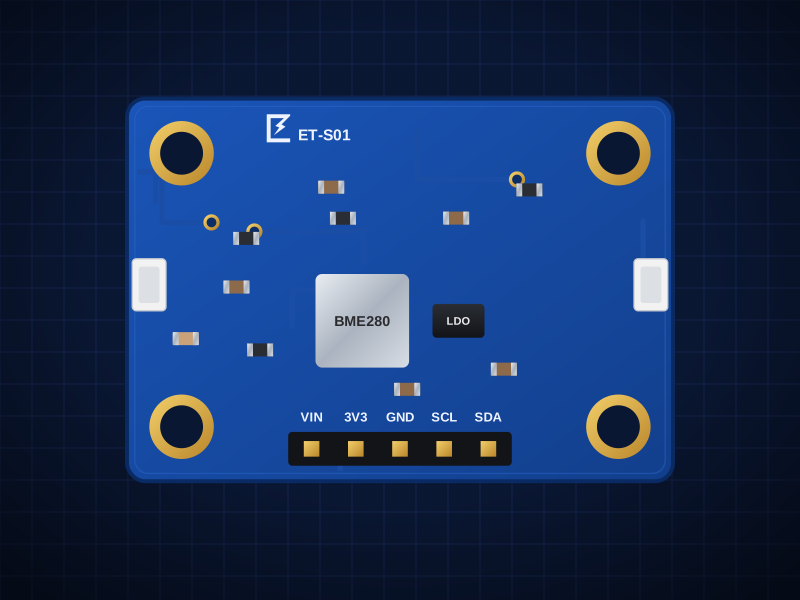
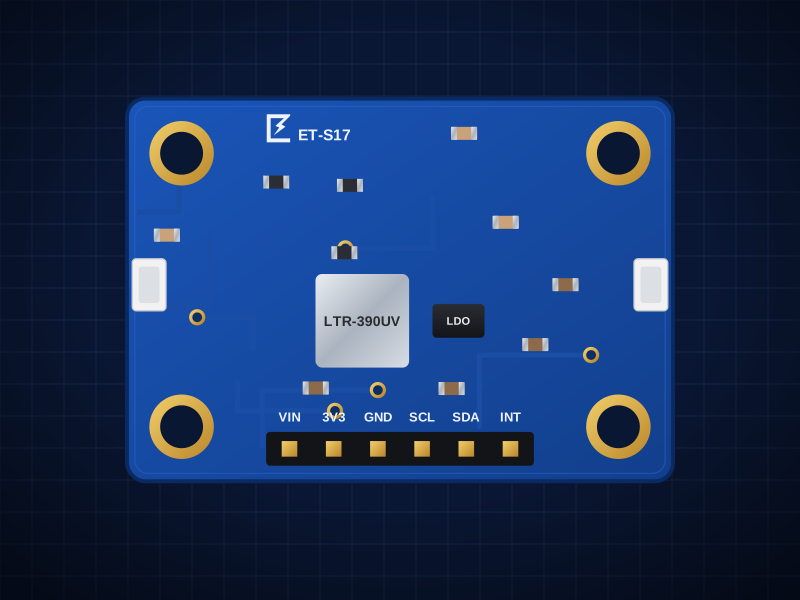
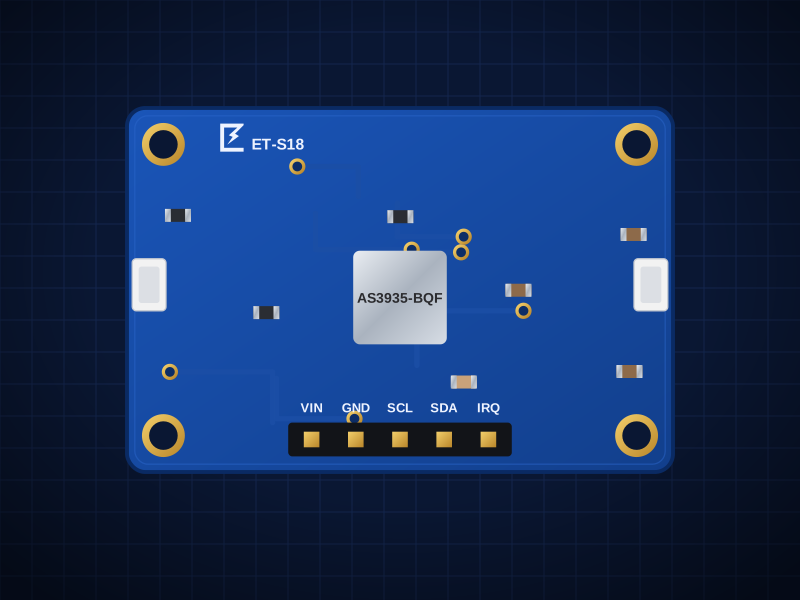
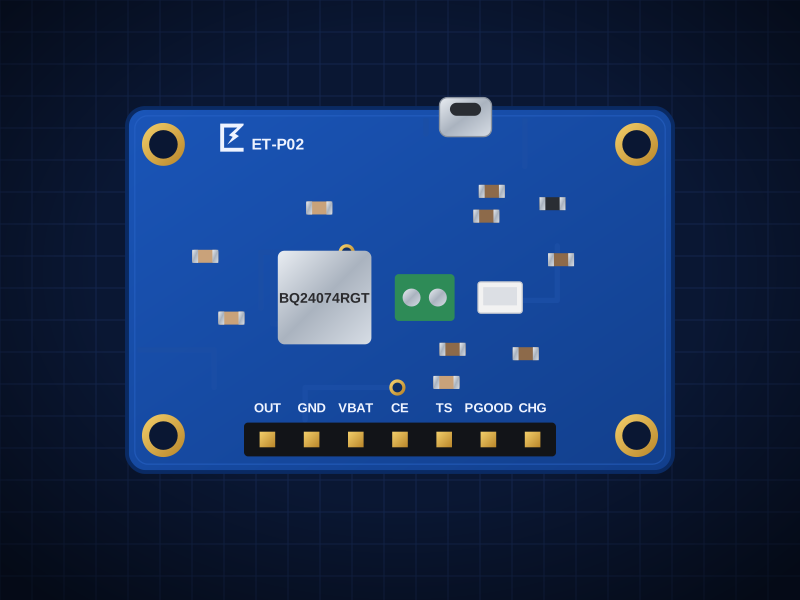
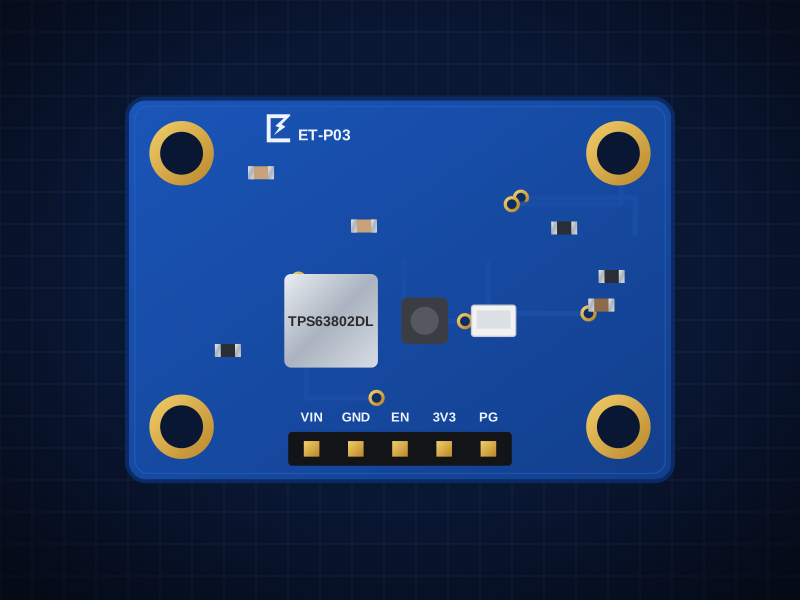
Boards total: AED 241.00
These boards are being manufactured. Open a board's page to see when it's back, or ask us about a kit.
You'll also need
- ESP32-S3 DevKitC-1 (or any ESP32-S3 board) with a USB-C data cable. Not sold by ElectroTrical.
- Qwiic / STEMMA QT cables (JST SH 4-pin) to chain the boards, or jumper wires
- 6 V solar panel, 2–5 W
- 1S LiPo, 2,000–5,000 mAh with JST-PH connector
- Weatherproof box with a vented radiation shield for the BME280, and a UV-clear window for the LTR-390
Wiring
Wire the first board's header to the ESP32 as shown, then link the other I²C boards with Qwiic cables. Every board carries VIN, GND, SDA and SCL through both Qwiic sockets, so the chain needs no extra wires. Addresses: BME280 0x77, LTR-390 0x53, AS3935 0x03.
Power
| From | To | Note |
|---|---|---|
| Solar panel + / − | ET-P02 DC terminal + / − | 5–10 V input |
| LiPo JST-PH | ET-P02 battery socket | Check polarity before plugging in |
| ET-P02 OUT | ET-P03 VIN | |
| ET-P02 GND | ET-P03 GND | |
| ET-P03 3V3 | ESP32 3V3 | Powers the ESP32 directly — don't connect USB at the same time |
| ET-P03 GND | ESP32 GND |
ESP32 → ET-S01 header
| From | To | Note |
|---|---|---|
| ESP32 3V3 | VIN | VIN sets the I²C logic level. Keep it at 3.3 V for the ESP32. |
| ESP32 GND | GND | |
| ESP32 GPIO8 | SDA | |
| ESP32 GPIO9 | SCL |
Qwiic chain and interrupt
| From | To | Note |
|---|---|---|
| ET-S01 Qwiic | ET-S17 Qwiic | |
| ET-S17 Qwiic | ET-S18 Qwiic | |
| ET-S18 IRQ | ESP32 GPIO4 | Active high; used as the deep-sleep wake pin |
Build it
- 01
Test on USB first
Build the sensor chain on the bench with the ESP32 on USB and the ET-P03 disconnected. Upload the sketch and confirm all three sensors report.
- 02
Set up the Arduino IDE
Install Arduino IDE 2, add the Espressif ESP32 board package (Boards Manager → “esp32” by Espressif), select “ESP32S3 Dev Module” and turn on USB CDC On Boot so Serial prints over USB. Install the libraries listed above the sketch from Library Manager.
- 03
Add the power stage
Unplug USB. Connect panel and battery to the ET-P02, the ET-P02 OUT to the ET-P03, and the ET-P03 3V3 to the ESP32 3V3 pin. Never power from USB and the ET-P03 together.
- 04
Mount the sensors properly
The BME280 must sit in a shaded, ventilated shield, not in a sealed box, or it will read the sun-heated box. The LTR-390 needs a clear view of the sky through UV-transparent acrylic or PTFE, not ordinary glass.
- 05
Place the lightning antenna
Keep the AS3935's ferrite antenna at least 30 cm from the ESP32, Wi-Fi antenna and the charger. Switching noise causes false “disturber” events.
- 06
Tune for indoor or outdoor
The sketch sets the AS3935 to outdoor mode. If you test indoors, change OUTDOOR to INDOOR so the gain suits the room.
Arduino code
Written for the ESP32-S3 DevKitC-1 with the Espressif Arduino core. Install these libraries from the Arduino Library Manager:
- Adafruit BME280 Library
- Adafruit LTR390 Library
- SparkFun AS3935 Lightning Detector Arduino Library
#include <Wire.h>
#include <Adafruit_BME280.h>
#include <Adafruit_LTR390.h>
#include <SparkFun_AS3935.h>

#define LIGHTNING_PIN GPIO_NUM_4
#define SLEEP_MINUTES 5

Adafruit_BME280 bme;
Adafruit_LTR390 ltr;
SparkFun_AS3935 lightning(0x03);

void readWeather() {
  float t = bme.readTemperature();
  float h = bme.readHumidity();
  float p = bme.readPressure() / 100.0F;   // hPa

  ltr.setMode(LTR390_MODE_UVS);
  delay(500);                              // one 20-bit conversion = 400 ms
  float uvi = ltr.newDataAvailable() ? ltr.readUVS() / 2300.0 : -1;  // gain 18x, 20-bit

  Serial.printf("%.1f C | %.0f %%RH | %.1f hPa | UV index %.1f\n", t, h, p, uvi);
}

void checkLightning() {
  uint8_t src = lightning.readInterruptReg();
  if (src == LIGHTNING_INT) {
    Serial.printf("LIGHTNING! Storm about %u km away\n", lightning.distanceToStorm());
  } else if (src == DISTURBER_INT) {
    Serial.println("Disturber (man-made noise) ignored");
  } else if (src == NOISE_TO_HIGH) {
    Serial.println("Noise too high — move the antenna away from electronics");
  }
}

void setup() {
  Serial.begin(115200);
  delay(200);
  Wire.begin(8, 9);

  if (!bme.begin(0x77)) Serial.println("BME280 not found");
  if (!ltr.begin()) Serial.println("LTR-390 not found");
  ltr.setGain(LTR390_GAIN_18);
  ltr.setResolution(LTR390_RESOLUTION_20BIT);

  if (!lightning.begin(Wire)) Serial.println("AS3935 not found");

  if (esp_sleep_get_wakeup_cause() == ESP_SLEEP_WAKEUP_EXT0) {
    delay(3);                              // AS3935 needs 2 ms before the register is valid
    checkLightning();
  } else {
    // first boot or timer wake-up
    lightning.setIndoorOutdoor(OUTDOOR);
    lightning.maskDisturber(true);
    readWeather();
  }

  esp_sleep_enable_ext0_wakeup(LIGHTNING_PIN, 1);              // wake on strike
  esp_sleep_enable_timer_wakeup((uint64_t)SLEEP_MINUTES * 60 * 1000000ULL);
  Serial.flush();
  esp_deep_sleep_start();
}

void loop() {}
Troubleshooting
Constant disturber or noise events
The antenna is too close to the ESP32 or charger. Move it 30 cm away and keep its cable short.
Temperature several degrees too high in sun
The BME280 needs a proper radiation shield (stacked white plates with air gaps). Never mount it in a closed box.
Battery drains overnight
Check the ESP32 actually sleeps (no USB cable attached) and remove the power LED on the dev board if you need more runtime.
Take it further
- Post readings over Wi-Fi to Home Assistant or Weather Underground
- Add the ET-S40 fuel gauge to report battery percentage
- Add the ET-S43 airspeed sensor with a vane for wind speed
Turning this into a product?
We design custom boards that combine these sensors on one PCB, with firmware and production.