
Projects / Energy
Home Energy Monitor
See how many amps and watts your home or AC unit uses — without touching live wires.
Overview
Split-core current clamps clip around a single wire and measure the current flowing through it, with no cut wires and no contact with live conductors. The ET-S38 reads two SCT-013 clamps with a 16-bit ADC and a built-in burden resistor.
Clip one clamp on your incoming supply and the other on a big load such as the AC. The ESP32 calculates RMS current and estimated power every second.
- Two channels, up to 100 A each
- RMS current and estimated power
- Non-invasive: clamps only, no live connections
- Runs from a 12 V adapter
What you need
ElectroTrical boards
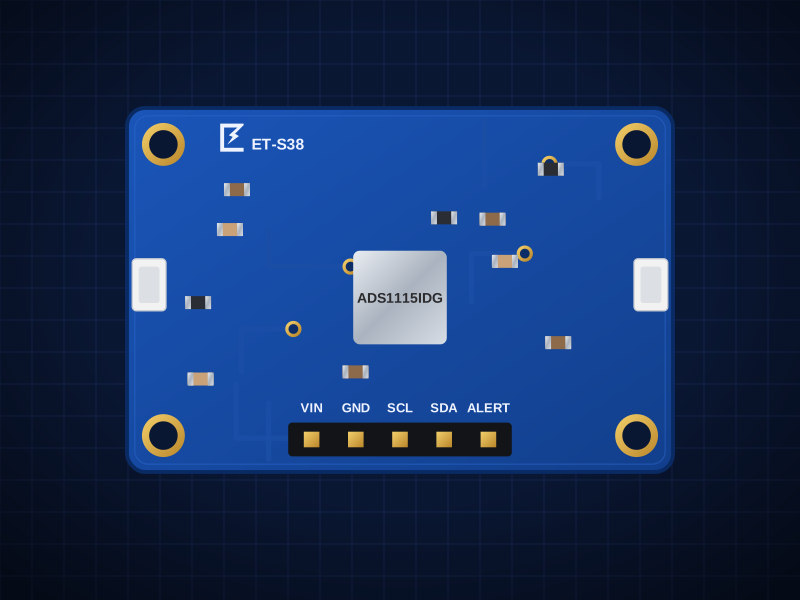
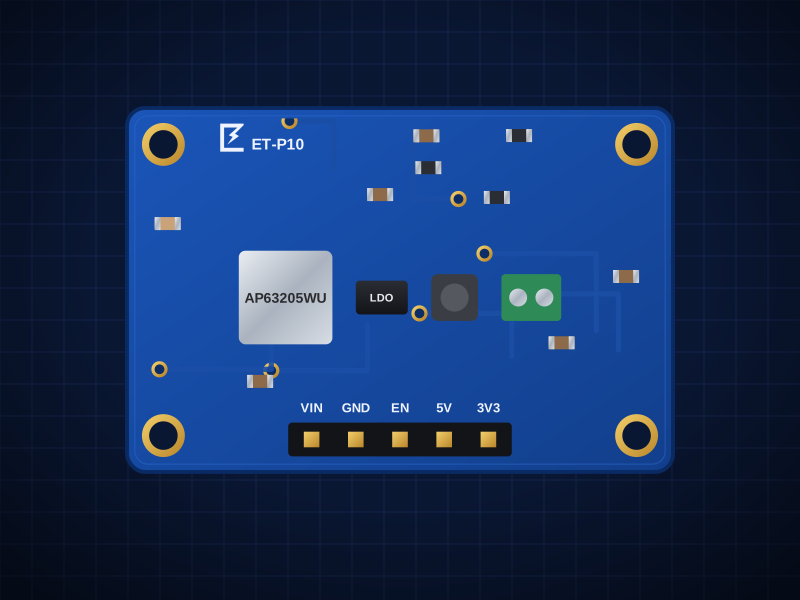
Boards total: AED 98.00
These boards are being manufactured. Open a board's page to see when it's back, or ask us about a kit.
You'll also need
- ESP32-S3 DevKitC-1 (or any ESP32-S3 board) with a USB-C data cable. Not sold by ElectroTrical.
- 2 × YHDC SCT-013-000 (100 A : 50 mA) clamps with 3.5 mm plugs
- 12 V DC adapter, 1 A
- Enclosure that mounts next to (not inside) your distribution board
Wiring
Clip each clamp around one conductor only (live or neutral). Around a full cable with both, the currents cancel and read zero. Opening a distribution board is work for a licensed electrician — ask one to fit the clamps if the wires are inside the panel.
Power
| From | To | Note |
|---|---|---|
| 12 V adapter + / − | ET-P10 screw terminal + / − | 6–28 V accepted |
| ET-P10 5V | ESP32 5V | |
| ET-P10 GND | ESP32 GND |
ESP32 → ET-S38 header
| From | To | Note |
|---|---|---|
| ESP32 3V3 | VIN | |
| ESP32 GND | GND | |
| ESP32 GPIO8 | SDA | |
| ESP32 GPIO9 | SCL |
Clamps
| From | To | Note |
|---|---|---|
| Clamp 1 (3.5 mm) | CT1 jack | Incoming supply |
| Clamp 2 (3.5 mm) | CT2 jack | AC unit or water heater |
Build it
- 01
Use the right clamp
This board is built for the SCT-013-000 current-output clamp (100 A : 50 mA). Voltage-output versions (SCT-013-030 etc.) have their own burden and need the burden jumper changed — check the ET-S38 product page.
- 02
Wire on the bench
Wire the ESP32 and ET-P10 as shown. Test first with the ESP32 on USB and no 12 V adapter.
- 03
Set up the Arduino IDE
Install Arduino IDE 2, add the Espressif ESP32 board package (Boards Manager → “esp32” by Espressif), select “ESP32S3 Dev Module” and turn on USB CDC On Boot so Serial prints over USB. Install the libraries listed above the sketch from Library Manager.
- 04
Check with a known load
Clamp a cable feeding a kettle (≈ 8–10 A at 2 kW). The reading should match the kettle's rating divided by 230 V.
- 05
Set your voltage
UAE supply is 230 V. The sketch multiplies current by MAINS_V to estimate power — it assumes a power factor of 1, so AC units with motors will read slightly high.
- 06
Install
Have the clamps fitted around the live conductor of the incoming supply and the AC circuit. Route the 3.5 mm leads out to the enclosure.
Arduino code
Written for the ESP32-S3 DevKitC-1 with the Espressif Arduino core. Install these libraries from the Arduino Library Manager:
- Adafruit ADS1X15
#include <Wire.h>
#include <Adafruit_ADS1X15.h>

const float MAINS_V   = 230.0;     // UAE nominal
const float CT_RATIO  = 2000.0;    // SCT-013-000: 100 A : 50 mA
const float BURDEN_OHM = 22.0;     // on the ET-S38
const int   SAMPLE_MS = 200;       // 10 cycles at 50 Hz

Adafruit_ADS1115 ads;

float readAmpsRms(int ch) {
  double sumSq = 0;
  int n = 0;
  unsigned long t0 = millis();
  while (millis() - t0 < SAMPLE_MS) {
    int16_t raw = (ch == 1) ? ads.readADC_Differential_0_1()
                            : ads.readADC_Differential_2_3();
    float v = ads.computeVolts(raw);
    sumSq += v * v;
    n++;
  }
  float vRms = sqrt(sumSq / n);
  return vRms / BURDEN_OHM * CT_RATIO;
}

void setup() {
  Serial.begin(115200);
  Wire.begin(8, 9);
  Wire.setClock(400000);
  if (!ads.begin(0x48)) {
    Serial.println("ADS1115 not found (0x48)");
    while (1) delay(100);
  }
  ads.setGain(GAIN_TWO);                    // ±2.048 V
  ads.setDataRate(RATE_ADS1115_860SPS);
}

void loop() {
  float a1 = readAmpsRms(1);
  float a2 = readAmpsRms(2);
  if (a1 < 0.15) a1 = 0;                    // ignore noise floor
  if (a2 < 0.15) a2 = 0;
  Serial.printf("Supply %.2f A (%.0f W) | Circuit 2 %.2f A (%.0f W)\n",
                a1, a1 * MAINS_V, a2, a2 * MAINS_V);
  delay(1000);
}
Troubleshooting
Reads zero with a load on
The clamp is around a cable with both live and neutral inside. Clamp a single conductor.
Small reading with nothing on
That is the noise floor (≈ 0.1 A). The sketch ignores values below 0.15 A; raise it if needed.
Reading is half or double the expected value
Check the clamp model is SCT-013-000 (current output). Other models need a different CT_RATIO and burden setting.
Take it further
- Push the values to Home Assistant with ESPHome's ads1115 + ct_clamp components
- Add a daily kWh counter and an alert when the AC draws unusual current
- Use the ET-S39 3-phase board for villas with three-phase supply
Turning this into a product?
We design custom boards that combine these sensors on one PCB, with firmware and production.