
Projects / Solar
Solar Battery & Power Logger
Know exactly how much power your solar project makes, stores and uses.
Overview
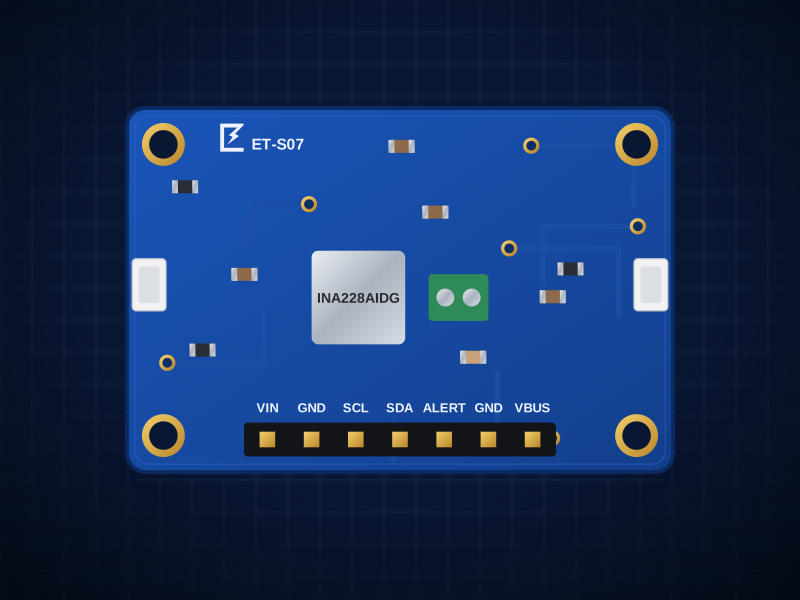
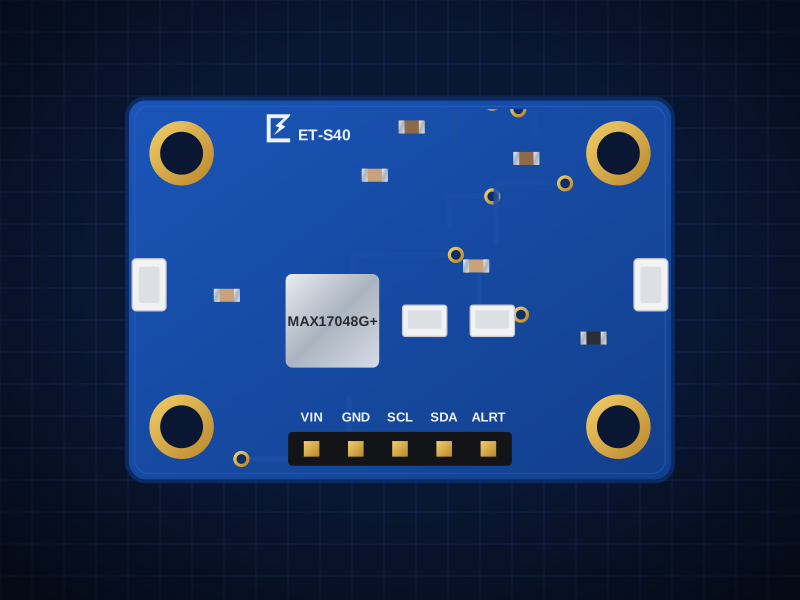
Building something solar-powered? This logger tells you whether your panel and battery are big enough. The ET-S07 INA228 measures the load's voltage, current, power and accumulated energy with 20-bit precision, while the ET-S40 fuel gauge reports battery percentage and charge rate.
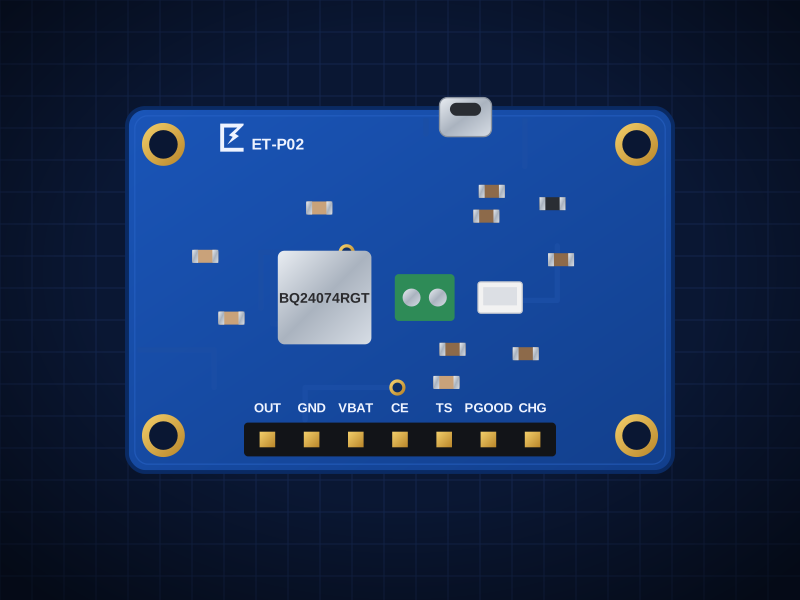
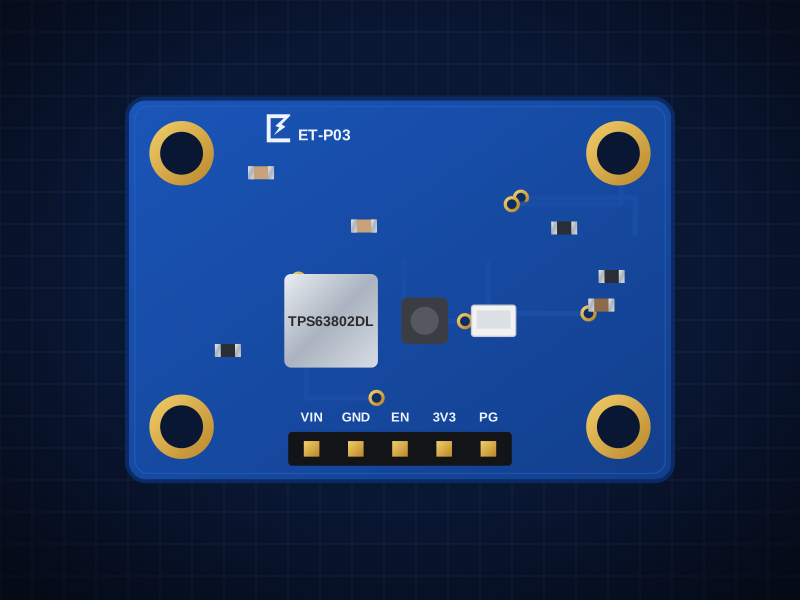
It's built on the same ET-P02 + ET-P03 power stage as the solar weather station, so you can measure that build — or any 3.3 V project — before deploying it.
- Load voltage, current, power and energy (Wh)
- Battery percentage and %/hour charge rate
- Charging and solar status on the ET-P02 LEDs
- CSV over Serial every second
What you need
ElectroTrical boards
Boards total: AED 166.00
These boards are being manufactured. Open a board's page to see when it's back, or ask us about a kit.
You'll also need
- ESP32-S3 DevKitC-1 (or any ESP32-S3 board) with a USB-C data cable. Not sold by ElectroTrical.
- Qwiic / STEMMA QT cables (JST SH 4-pin) to chain the boards, or jumper wires
- 6 V solar panel, 2–5 W
- 1S LiPo with JST-PH connector
- Your test load (or the project you want to measure)
Wiring
The INA228 sits on the high side: current flows SOURCE+ → shunt → LOAD+. Addresses: INA228 0x40, MAX17048 0x36. Note that the ESP32 itself is part of the measured load here.
Power path
| From | To | Note |
|---|---|---|
| Solar panel + / − | ET-P02 DC terminal + / − | |
| LiPo JST-PH | ET-S40 battery in | Fuel gauge passes the battery through |
| ET-S40 battery out | ET-P02 battery socket | |
| ET-P02 OUT | ET-S07 SOURCE+ terminal | |
| ET-S07 LOAD+ terminal | ET-P03 VIN | Everything after here is measured |
| ET-P02 GND | ET-P03 GND | |
| ET-P03 3V3 | ESP32 3V3 | |
| ET-P03 GND | ESP32 GND |
ESP32 → ET-S07 header
| From | To | Note |
|---|---|---|
| ESP32 3V3 | VIN | |
| ESP32 GND | GND | Must share ground with the measured circuit |
| ESP32 GPIO8 | SDA | |
| ESP32 GPIO9 | SCL |
Qwiic chain
| From | To | Note |
|---|---|---|
| ET-S07 Qwiic | ET-S40 Qwiic |
Build it
- 01
Set up the Arduino IDE
Install Arduino IDE 2, add the Espressif ESP32 board package (Boards Manager → “esp32” by Espressif), select “ESP32S3 Dev Module” and turn on USB CDC On Boot so Serial prints over USB. Install the libraries listed above the sketch from Library Manager.
- 02
Bench test on USB
First power the ESP32 from USB and feed SOURCE+ from a bench supply through a resistor load. Check the current matches your multimeter.
- 03
Build the solar path
Wire the full power path. Disconnect USB from the ESP32 — it now runs from the ET-P03 and its own consumption is included in the reading.
- 04
Let the fuel gauge learn
The MAX17048 gives a usable percentage within a few seconds, and becomes more accurate after a full charge/discharge cycle.
- 05
Log for a day
Copy the Serial output into a spreadsheet (or use any serial logger) and compare energy in during the day against energy used at night.
Arduino code
Written for the ESP32-S3 DevKitC-1 with the Espressif Arduino core. Install these libraries from the Arduino Library Manager:
- Adafruit MAX1704X
#include <Wire.h>
#include <Adafruit_MAX1704X.h>

// ---- INA228 on the ET-S07: 15 mΩ shunt, ±10.9 A range ----
const uint8_t INA = 0x40;
const float SHUNT_OHM   = 0.015;
const float MAX_AMPS    = 10.0;
const float CURRENT_LSB = MAX_AMPS / 524288.0;          // 2^19

Adafruit_MAX17048 gauge;

void inaWrite16(uint8_t reg, uint16_t v) {
  Wire.beginTransmission(INA);
  Wire.write(reg); Wire.write(v >> 8); Wire.write(v & 0xFF);
  Wire.endTransmission();
}
uint64_t inaRead(uint8_t reg, uint8_t bytes) {
  Wire.beginTransmission(INA);
  Wire.write(reg);
  Wire.endTransmission(false);
  Wire.requestFrom(INA, bytes);
  uint64_t v = 0;
  for (uint8_t i = 0; i < bytes; i++) v = (v << 8) | Wire.read();
  return v;
}
int32_t signed20(uint64_t raw24) {                      // 20-bit value in bits 23..4
  int32_t v = (int32_t)(raw24 >> 4);
  return (v & 0x80000) ? v - 0x100000 : v;
}

void setup() {
  Serial.begin(115200);
  Wire.begin(8, 9);

  inaWrite16(0x00, 0x8000);                             // reset
  delay(2);
  inaWrite16(0x01, 0xFB6B);                             // continuous, 1052 us, 64 averages
  inaWrite16(0x02, (uint16_t)(13107.2e6 * CURRENT_LSB * SHUNT_OHM));  // SHUNT_CAL

  if (!gauge.begin()) Serial.println("MAX17048 not found (0x36)");
  Serial.println("ms,volts,amps,watts,wh,battery_pct,pct_per_hr");
}

void loop() {
  float volts = (inaRead(0x05, 3) >> 4) * 195.3125e-6;
  float amps  = signed20(inaRead(0x07, 3)) * CURRENT_LSB;
  float watts = inaRead(0x08, 3) * 3.2 * CURRENT_LSB;
  float wh    = inaRead(0x09, 5) * 16 * 3.2 * CURRENT_LSB / 3600.0;

  Serial.printf("%lu,%.3f,%.4f,%.3f,%.4f,%.1f,%.2f\n",
                millis(), volts, amps, watts, wh,
                gauge.cellPercent(), gauge.chargeRate());
  delay(1000);
}
Troubleshooting
Current reads zero
Check the load is connected to LOAD+ and that the ESP32, INA228 and measured circuit share one ground.
Current has the wrong sign
SOURCE+ and LOAD+ are swapped. Current must flow from SOURCE+ to LOAD+.
Battery % jumps at first
Normal for the first minutes. The MAX17048 settles after a few minutes and improves over a full cycle.
Take it further
- Write the log to flash or upload it over Wi-Fi
- Add a second INA228 (address 0x41) on the solar input to measure energy harvested
- Size your next project's battery from a week of real data
Turning this into a product?
We design custom boards that combine these sensors on one PCB, with firmware and production.